Same Prices In-Store & Online - Free shipping for local orders over R1250 and below 10KG online T&C's apply

Hi There!

Sign in or Join

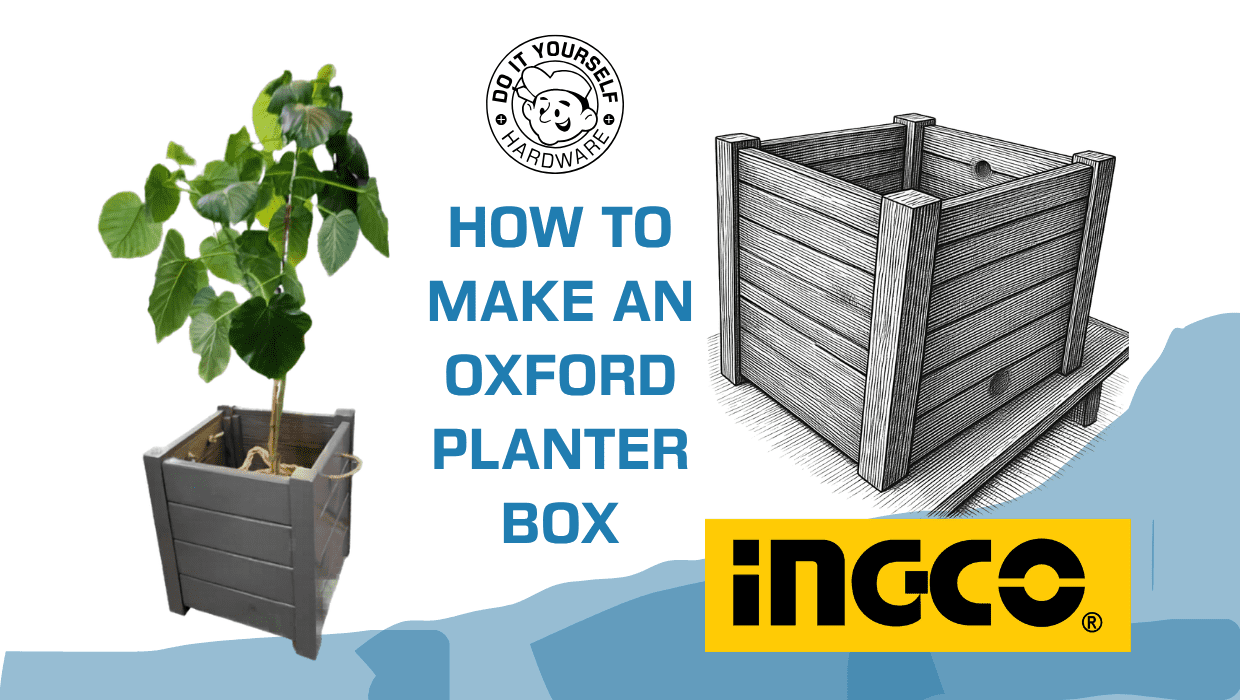
How to make an Oxford planter – a DIY Hardware Experience

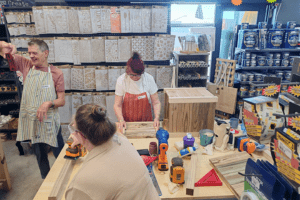
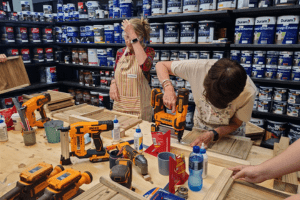
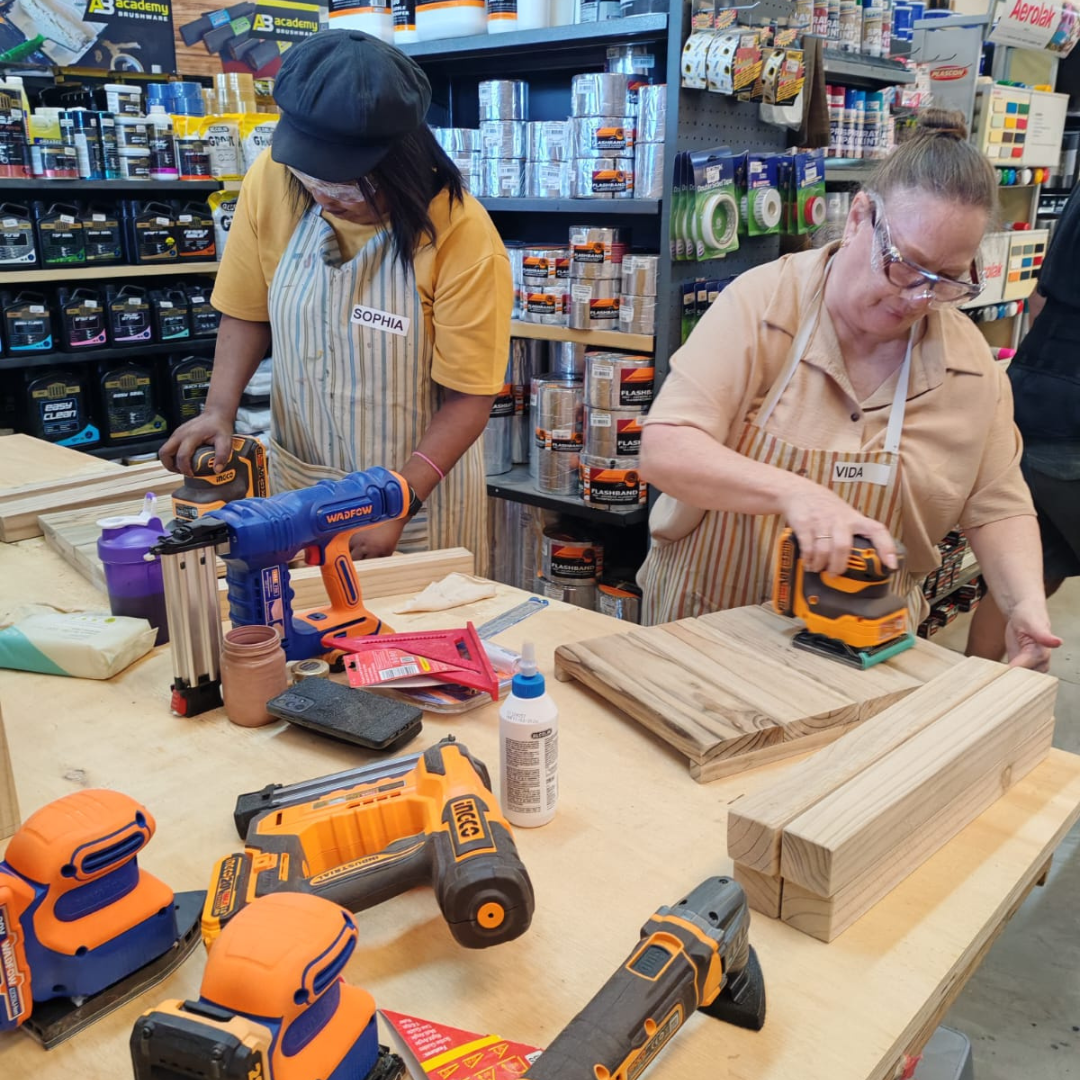
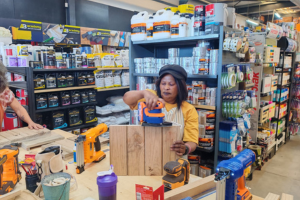
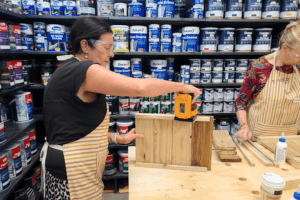
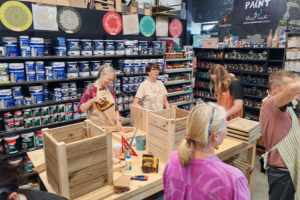
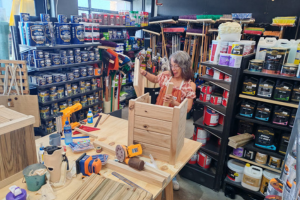
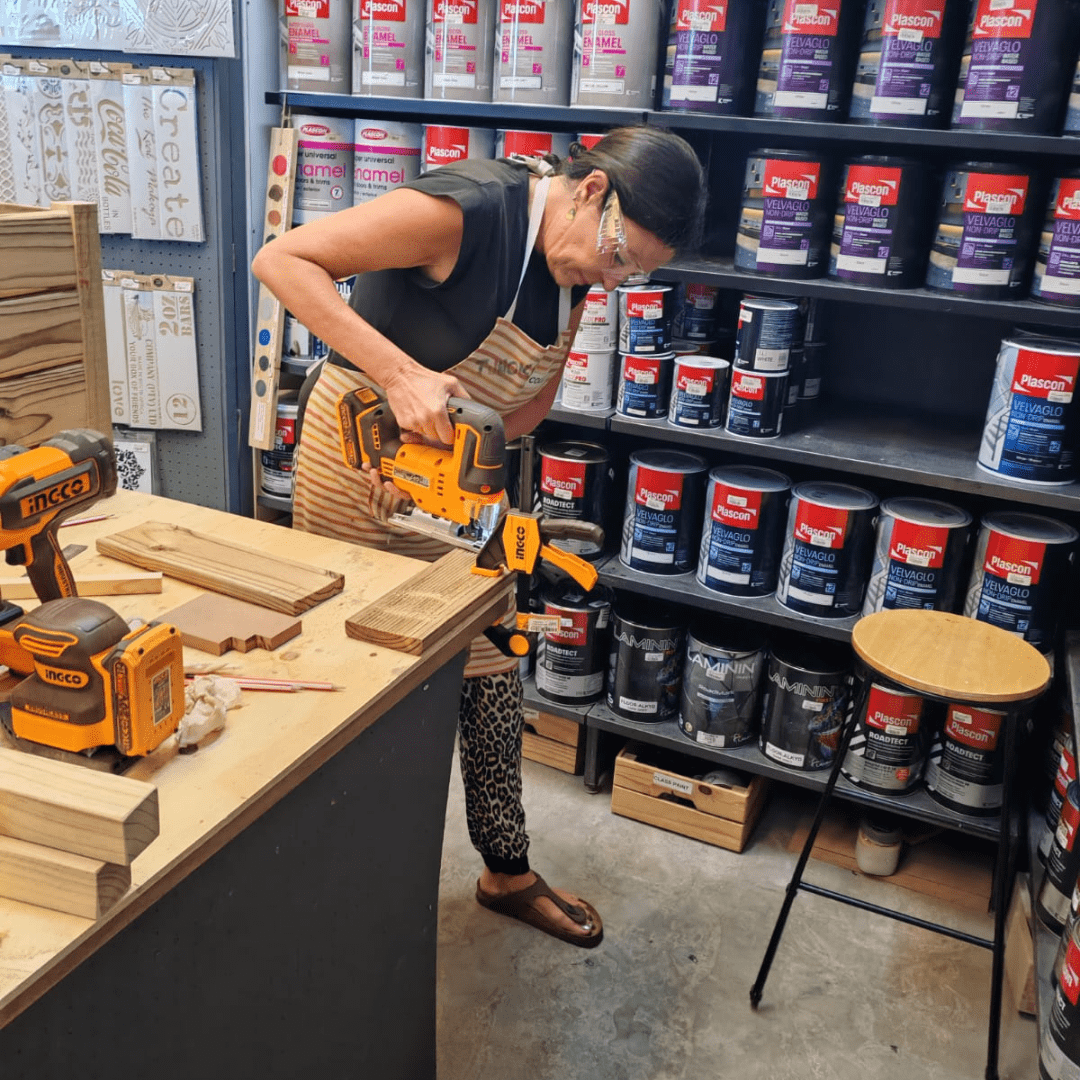
We enjoyed the participation of a group of ladies in our second Power Tools Wood Workshop presented in collaboration with Ingco powertools, where we made an Oxford planter box.

We are grateful to Johan and Pierre of Ingco who helped our group of ladies find success in this project. Not only that, Ingco gifted our ladies some very necessary measuring tools an similarly Alcolin offered our ladies adhesive products as a gift in their goody bags.  It is wonderful to have such lovely support of our workshops and our ladies.

In this summary of the day we outline the tasks required to follow to achieve this project if you try it at home.

Requirements to make an Oxford planter

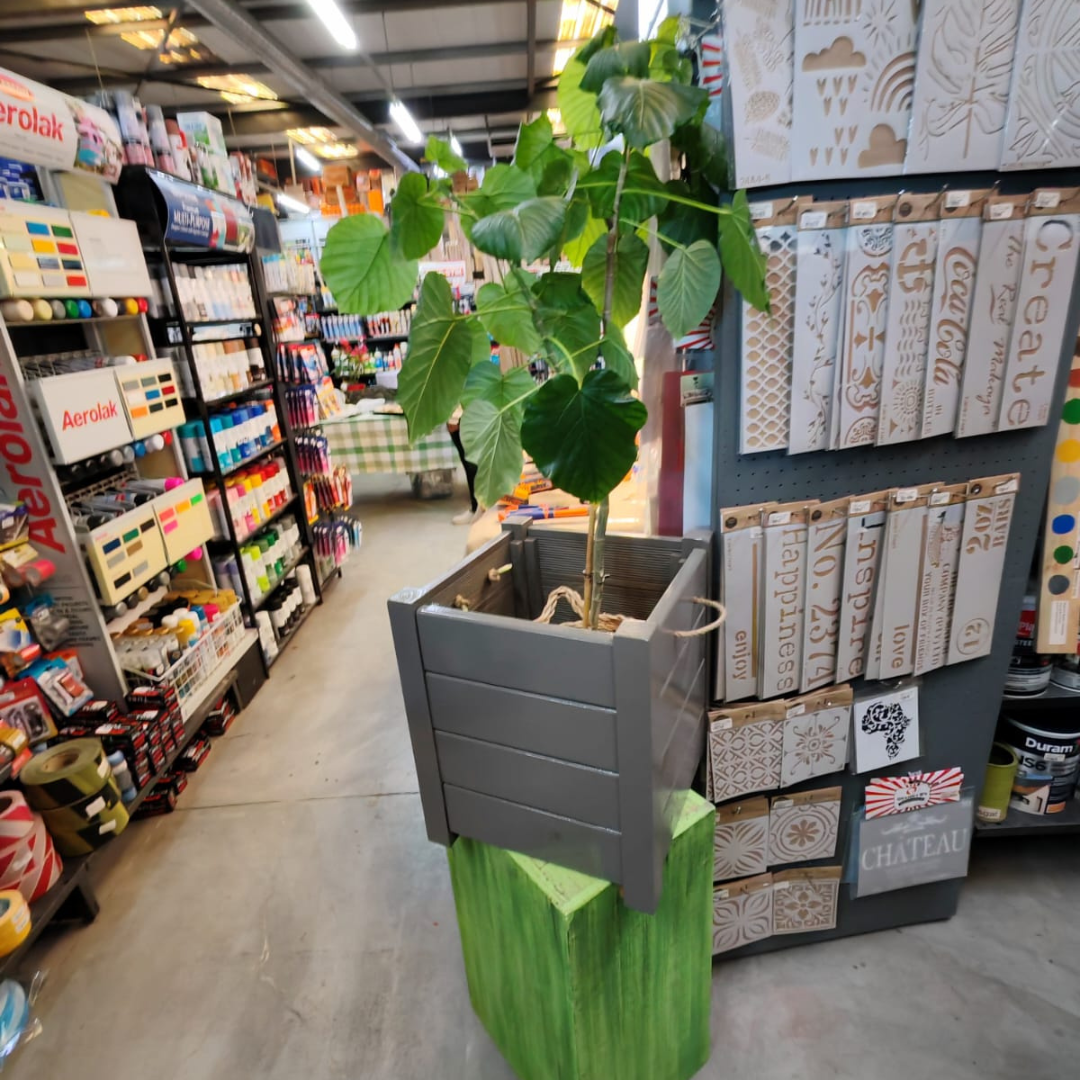
Just to clarify, an Oxford planter is a  specific, classic style of square planter, often featuring panelling and short feet.

  • 4 upright pieces for the four corners L: 50mm x W: 50mm x H: 550mm
  • 4 sides of 4 strips of wood of dimensions: L: 400mm x W: 20mm x H:125mm
  • 1 piece of wood for the base of dimensions: L: 500mm x W: 500mm x H: 20mm
  • 8 wood strips of L: 400mm x W: 10mm x H: 10mm. These act as supports for uprights and sides.

Or simply, speak to our team and ask for the right measurements and cutting list for your planter box.

Tools needed to construct the Oxford planter

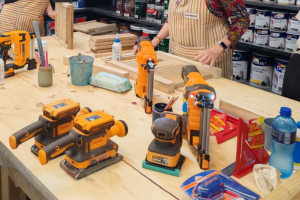
There are many ways that you can assemble your planter box. In this project we wanted to keep it simple for our ladies. We prepared the task so that the ladies could practise their skills with the tools they are becoming familiar with. You may choose to use alternative products and methods of assembling your Oxford planter box. This is our list of tools:

  • 1 Ingco Brad Nailer with nails
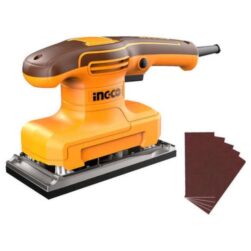
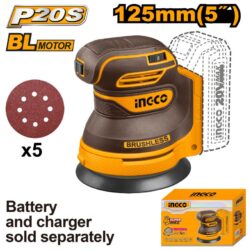
  • 1 Ingco Orbital sander with 100 -120 sandpaper
  • 1 Ingco Jigsaw
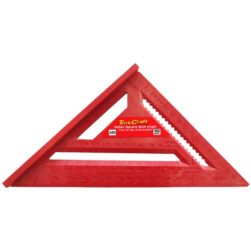
  • 1 T Square for accurate measuring
  • 1 Ingco Screwdriver

Steps to success

Build the sides

  • Lay 4 panels to make up a side
  • Affix the strips of wood with glue to the panels
  • Align the strips with the end of the panels
  • Reinforce the bond with use of the nail gun
  • Repeat to complete all four sides
  • Sand and smooth

Build the base

  • Repeat the process for the base
  • Ensure that you jigsaw a space for the corner pieces

Assemble

  • Once the sides and the base are complete, use one of the uprights
  • Place one upright between two side panels
  • Use the brad nailer to joing the side panels to the upright
  • Sand and neaten when complete
  • Repeat for the other three uprights

At this stage your Oxford Planter Box should look like a work of art. Decide how you want to finish it off. 

Our next event

If you are interested in participating in one of our workshops put your name down on the waiting list by sending your details (contact name and telephone number ) to Amirah, right here at: [email protected].

Our next event will take place on May 16th, 2026. We will be making a bench.

Products you may want to purchase: